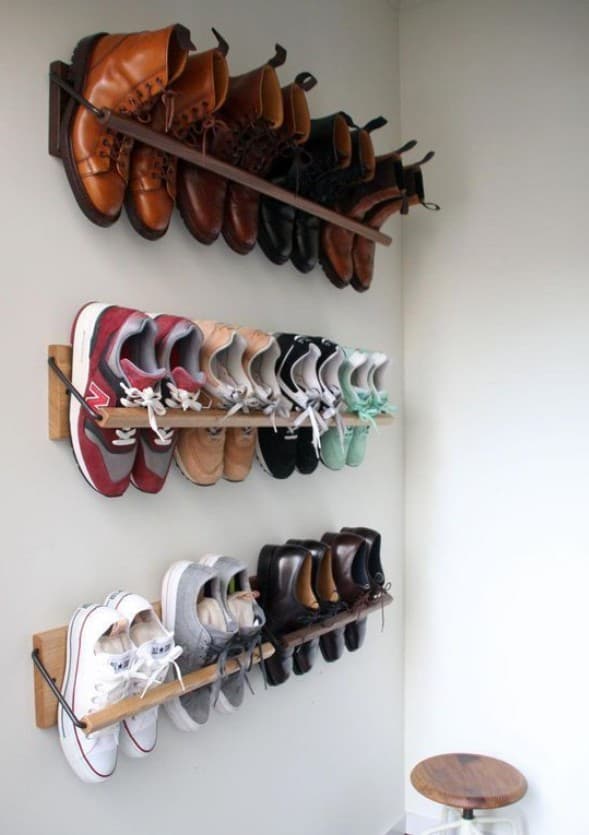
Shoes are one of the hardest things to store neatly. Boxes take up floor space, shoe racks get messy quickly, and cupboards mean you can never find the pair you want. Wall-mounted shoe rails solve all three problems at once.
What are shoe rails?
A shoe rail is a simple horizontal bar — typically a wooden dowel or metal pipe mounted to the wall on two brackets — where shoes hang heel-down. Stack three or four rails vertically and you can store 15–20 pairs in the space of a single cabinet door.
Why they work better than shoe racks
Traditional shoe racks sit on the floor, taking up valuable space and making your entryway feel cramped. Rails use vertical wall space instead — the one resource most hallways have plenty of. And because every pair is visible, you spend less time searching.
How to build your own
You don't need anything fancy. A length of wooden dowel (around 3–4 cm diameter), two wall brackets, and a drill is all it takes. Sand the dowel smooth, stain it to match your floors or paint it to match your walls, and mount it at a slight downward angle so shoes stay in place. Add rails at 25–30 cm intervals for enough clearance between pairs.
What shoes work on rails
Trainers, boots, heels, loafers — almost any shoe with a solid heel works on a rail. Very flat ballet flats or slides can slip, so keep those in a basket on the lowest shelf. Boots stand upright in front of the rails rather than hanging.
Interior tips
- Paint the wall behind the rails in a contrasting colour to turn your shoe collection into a display rather than clutter.
- Add a small stool or bench underneath the lowest rail — somewhere to sit while putting on shoes makes the whole system more functional.
- Keep only current-season shoes on the rails. Off-season shoes go in storage. The fewer pairs, the better the system looks.
- Space the rails evenly and at the same height from each end — precision here makes the difference between organised and chaotic.
How to plan your rail layout
Before drilling a single hole, take stock of your shoe collection. Count how many pairs you wear regularly, measure the wall width you have available, and work out how many rails you need. A standard hallway wall of 80–100 cm can hold three to four rails and comfortably store 15–18 pairs. If you have a family with multiple people's shoes to manage, consider splitting the rails into zones — one section per person — so everyone knows where their shoes belong.
Sketch the layout on paper first. Mark the stud positions in your wall (a stud finder costs very little and saves a lot of trouble), then position your brackets into studs wherever possible. If studs don't align with your preferred spacing, use proper wall anchors rated for the weight you'll be putting on them.
Material choices that make a difference
The material you choose for your rails affects both the look and the longevity of the system.
- Solid wood dowel in oak or pine is the most popular choice. It's warm, easy to work with, and takes stain or paint well. Oak dowels are harder and more durable; pine is cheaper but softer and more prone to scratching over time.
- Copper pipe gives a more modern, industrial look and is extremely durable. It's more expensive than wood but requires no finishing — just polish it occasionally to keep the sheen.
- Black iron pipe works beautifully in industrial or Scandinavian-inspired spaces. It pairs well with concrete walls, dark painted surfaces, and raw wood accents.
- Steel conduit is a budget option that's surprisingly strong. Paint it in any colour you like.
Whichever material you choose, make sure the diameter is generous enough — a rail that's too thin will bow under the weight of several pairs of shoes.
Common mistakes to avoid
Even a simple system like this can go wrong if you rush the planning stage. Here are the mistakes that are easiest to make and how to avoid them.
Mounting the rails too close together. You need at least 20–25 cm between rails to hang shoes without them overlapping. Measure the heel height of your tallest heels and add a few centimetres of clearance before deciding on spacing.
Using rails that aren't long enough. If rails are shorter than the width of your wall panel, the outermost shoes will constantly fall off. Always mount rails at least 10 cm wider than your widest shoe.
Neglecting the lowest rail height. The bottom rail should sit high enough off the floor that you don't accidentally kick shoes off it every time you walk past — 50–60 cm from the floor is a practical minimum.
Forgetting about children's shoes. If you have young children, add a lower set of rails at their height. A rail at 30–35 cm from the floor is easy for children to reach independently, which means they'll actually use it.
Buying ready-made alternatives
If a DIY project isn't your thing, several Scandinavian brands offer ready-made wall-mounted shoe storage that works on the same principle. Look for systems with adjustable rail height so you can reconfigure as your shoe collection changes. Powder-coated steel versions are the most durable. Avoid very lightweight options — they wobble, and that wobble makes the whole system feel less trustworthy.
The best ready-made systems include integrated hooks underneath the rails for umbrellas, dog leads, or bags, turning your shoe storage into a complete entryway solution.
Related posts
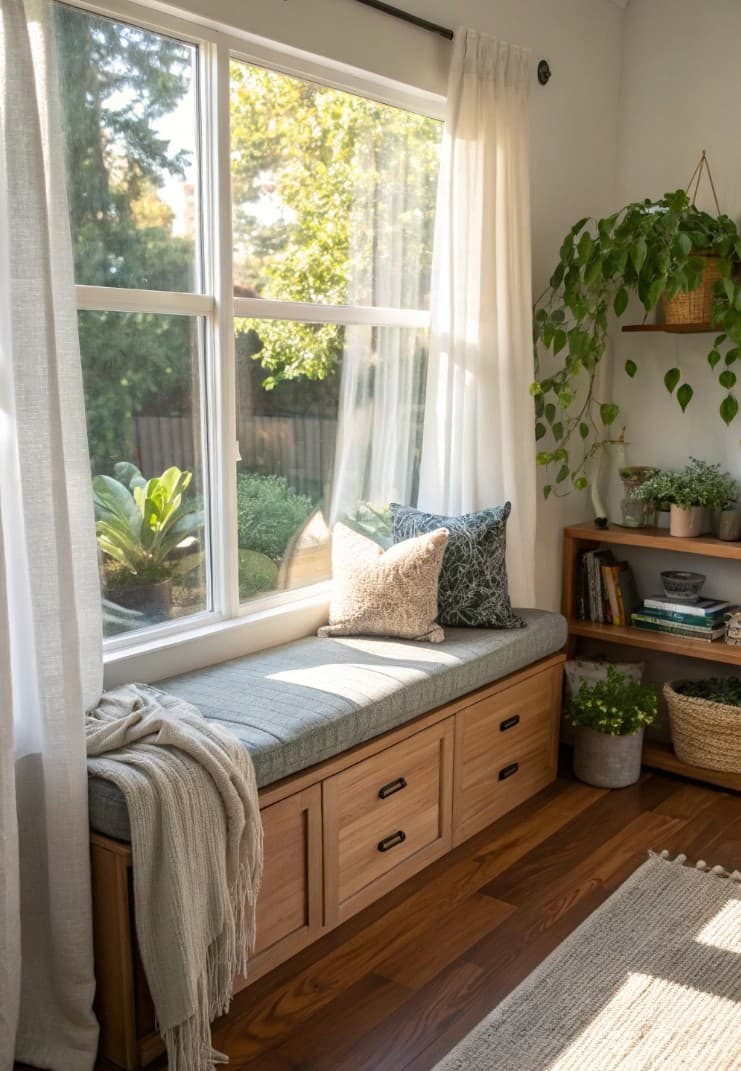
How to Build a Window Seat With Built-In Storage Drawers
A window seat with drawers underneath adds seating, storage and a reading nook in the space a window usually leaves empty.
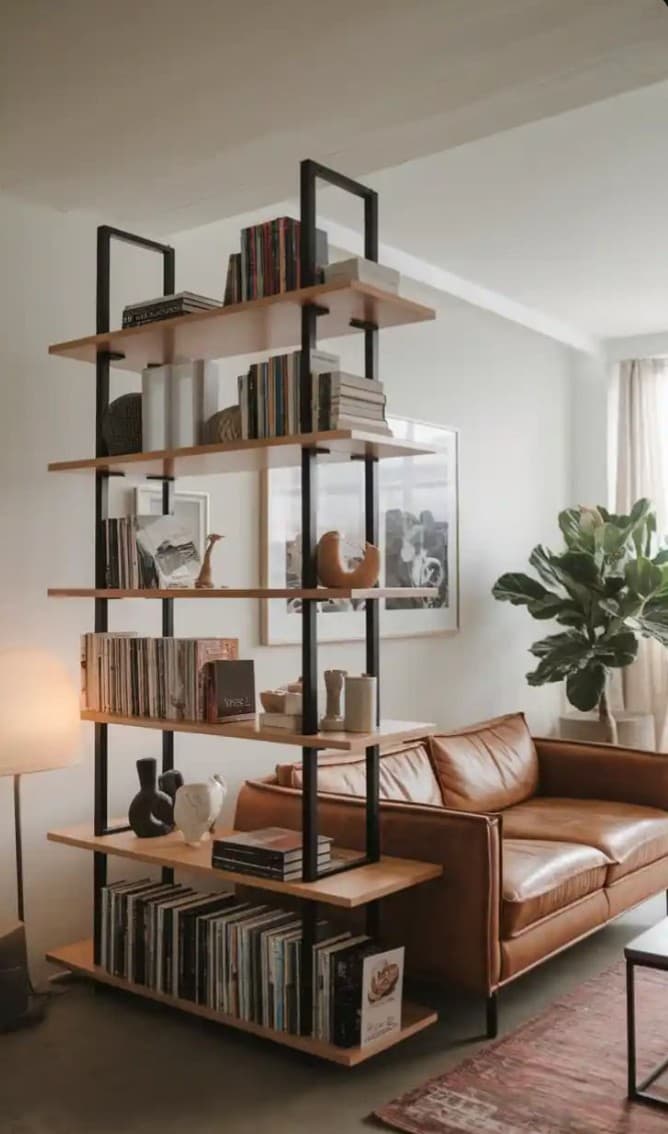
Industrial Shelving Units: The Statement Storage Piece for Modern Living Rooms
A tall black-frame, oak-shelf freestanding unit with books, ceramics and vinyl records becomes the focal point of a living room — here's how to style one.
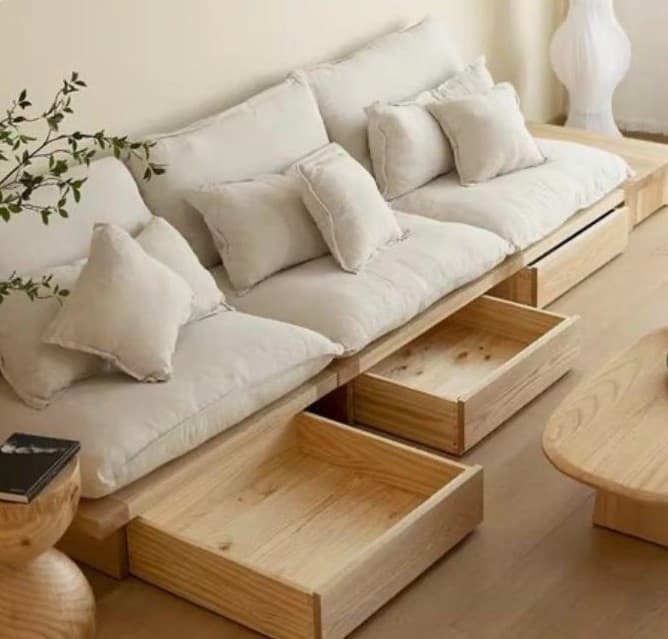
Japandi Platform Sofa With Hidden Storage Drawers: The Ultimate Space-Saver
A low pine platform sofa with pull-out drawers underneath stores as much as a wardrobe while taking up the footprint of a sofa. Here's why this is one of the smartest furniture ideas around.