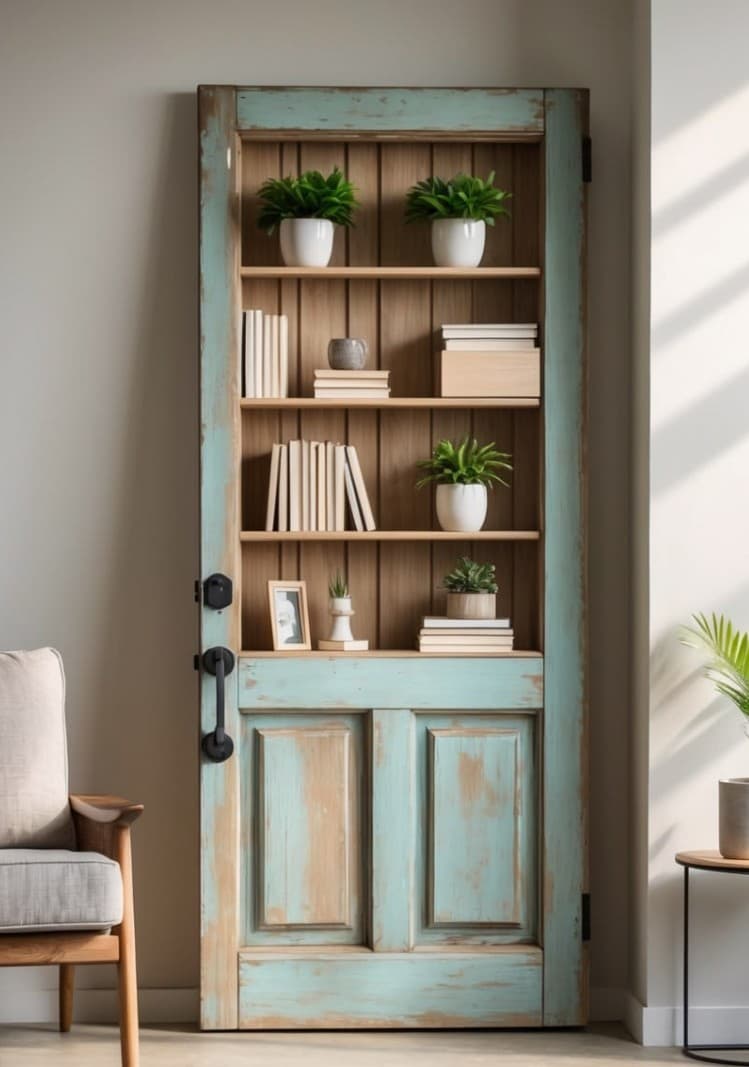
Someone took an old panelled door — the kind with deep rectangular mouldings, painted long ago in a dusty teal-turquoise that has since worn through to bare wood in patches — and fitted it with horizontal shelves. The lower half of the door, where the original panels form a natural cabinet shape, has been left intact. The upper half opens up to display shelves holding plants in white ceramic pots, stacked books, a small framed photo and a few quiet objects. The original black door handles are still in place. It leans against the wall rather than being wall-mounted — held upright by its own weight and the furniture around it. It is entirely original and deeply satisfying.
Why a door works as a bookshelf
The proportions of a standard interior door are almost exactly right for a tall, narrow bookshelf. The depth of the door frame provides a natural ledge; the height is typically 2 metres, which fills a wall without overwhelming it. A door's panelled face gives each shelf a natural frame — the recessed panels below become the cabinet section, and the flat face above becomes the display surface.
What to look for
Reclamation yards, architectural salvage shops and online marketplaces (Finn.no, Facebook Marketplace, eBay) are the best sources for old doors. Look for solid wood doors rather than hollow-core ones — the weight provides stability when leaning, and the material accepts shelving hardware well. Panelled doors in distressed paint are the most characterful; the more layers of old paint showing through, the better.
Fitting the shelves
The simplest approach: horizontal timber planks cut to the internal width of the door frame, supported by metal shelf brackets screwed directly into the door's vertical stiles. Use short screws to avoid breaking through the face. Space the shelves at book height — approximately 30–35 cm apart — to give flexibility for different book sizes and plant heights.
Styling the result
The styling here is restrained and very effective. White ceramic pots in different sizes hold small green plants — succulents, ferns, small foliage plants. Books are stacked horizontally in blocks rather than spine-out, which reads more as a display than a library. A small framed portrait photograph leans against the back of one shelf. The objects chosen have a quiet, slightly vintage character that complements the distressed paint.
Interior tips
- Don't repaint the distressed surface: the layered, worn paint is the whole point. Clean it, wax it if it's dry, leave the rest. Painting over it would destroy what makes it interesting.
- Use white or cream ceramic pots: the contrast between bright white ceramics and the weathered teal paint is extremely effective. Terracotta would work too; avoid plastic pots.
- Keep the original hardware: the black door handles are part of the piece's character. If you remove them, it becomes just a bookshelf. With them, it's a door that has become a bookshelf — a completely different thing.
- Let it lean rather than mounting it: leaning furniture has a casual, confident quality that mounted furniture doesn't. It also means no drilling, and the piece can be moved easily.
- Stack some books horizontally: a mix of upright spines and horizontal stacks creates a more interesting shelf silhouette than all-vertical books, and the flat stacks provide a surface for small objects.
Step-by-step: fitting the shelves properly
Once you have your door, the shelf installation is straightforward but worth doing carefully — a wobbly shelf looks amateur and can be genuinely dangerous if loaded with books.
What you need:
- Solid wood shelving boards (18 mm pine or oak is ideal), cut to the internal width of the door frame
- Heavy-duty metal shelf brackets — L-shaped, at least 20 cm deep
- Short wood screws (40–50 mm) for attaching brackets to the door stiles
- A spirit level
- A drill with a wood bit
The process:
- Measure the internal width between the door stiles at several heights — old doors are rarely perfectly square, and the width can vary by a centimetre or two.
- Cut your shelves to fit, allowing a few millimetres of clearance on each side for easy placement and adjustment.
- Mark your bracket positions on the stiles at your desired shelf heights. Space shelves 30–35 cm apart for a good mix of book heights and plant clearance.
- Check with a spirit level before screwing in. A shelf that's even 2–3 degrees off-level looks immediately wrong.
- Screw the brackets into the stiles using short screws — you do not want to break through the face of the door. 40 mm screws in a 44 mm stile are usually safe.
- Lay the shelves on the brackets. You can screw them down from below for security, or leave them sitting freely if the load is light.
Where to find the right door
The hunt for a good door is half the project. Here is where to look:
- Architectural salvage yards: the best source. Staff can advise on door dimensions and materials, and you can inspect the piece in person. Search online for reclamation yards near you — most cities have at least one.
- Facebook Marketplace and Gumtree: people selling old doors during renovations, often for very little or free. Search for "old door", "internal door", "Victorian door" or "panel door".
- Online auction sites (eBay, Finn.no, Blocket): wider selection but you cannot inspect before buying. Check the dimensions carefully — standard interior doors are 198 x 76 cm or 198 x 83 cm, which is ideal for this project.
- Your own house during renovation: if you are replacing internal doors, the old ones are exactly what you need.
Common mistakes to avoid
Choosing a hollow-core door. Hollow-core doors — the kind with a cardboard honeycomb interior — are too light to lean safely and too weak to accept shelf brackets. They also look flat and uninteresting compared to solid panelled doors. Always verify that the door is solid wood before buying.
Cutting shelves too long. A shelf that is too wide for the door's internal width will bow in the middle over time under the weight of books. Measure twice, cut once, and if in doubt, cut slightly short — a small gap at the sides is invisible once the shelf is loaded.
Overloading the upper shelves. A leaning door bookshelf is not structurally the same as a wall-mounted unit. Keep the heaviest books (large hardbacks, art books) on the lower shelves where the weight is lower and the lean is most stable. Lighter objects — plants, small ceramics, paperbacks — work well at the top.
Related posts

How to Frame a Doorway with Plants for a Stunning Kitchen View
Trailing plants on a shelf above a black-framed doorway, floor plants on either side, and a warm Scandi kitchen beyond — how to make a transition space the most beautiful part of your home.

The Hygge Living Room: Layering Textures, Candles and Natural Materials
Patterned cushions, chunky knit throws, wooden tray tables, candles and eucalyptus — how to build a living room that feels genuinely cosy all year round.
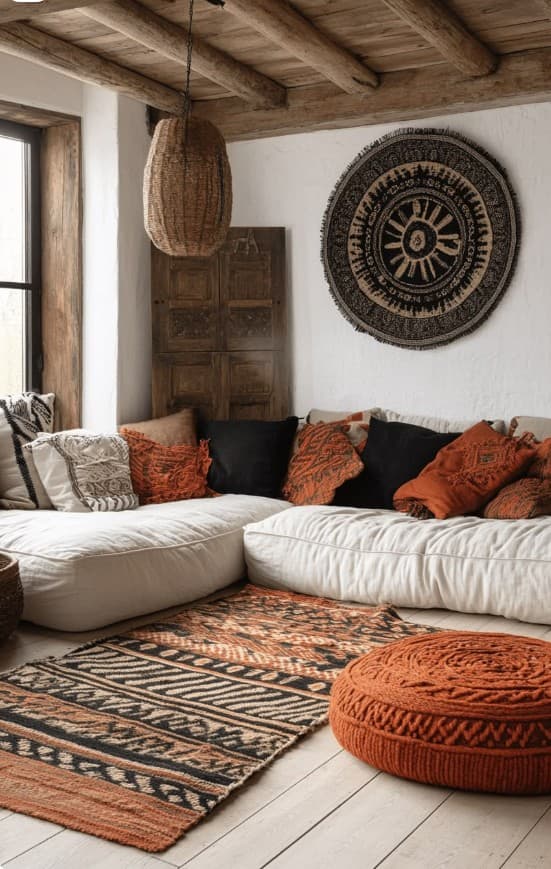
Rust, Black and White: The Boldest Boho Palette in One Living Room
A low white sectional sofa loaded with rust-orange ethnic cushions, a black circular wall tapestry, a bold kilim rug and a rattan pendant — this is boho living room design at its most confident and distinctive.