The Freestanding Kitchen Island: Extra Prep Space and Storage in the Tightest Kitchen
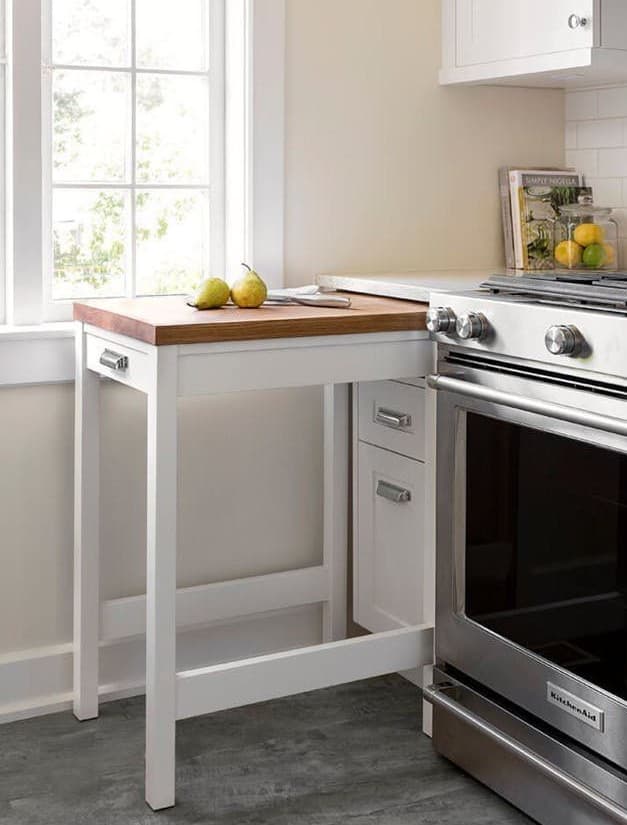
Beside the KitchenAid range in this compact kitchen stands a freestanding island that barely needs description, so clear is its purpose: a warm butcher-block top surface for prep work, two small drawers below with chrome bar handles for tools and utensils, four slim white-painted legs, a chrome towel bar on the end. A window above provides natural light. On the top: two pears and a knife — the most kitchen-appropriate styling possible. This is exactly the right island for a small kitchen: compact enough to not crowd the space, functional enough to transform it.
Why freestanding beats built-in for small kitchens
A built-in kitchen island requires planning permission in rented apartments, permanent installation, and significant investment. A freestanding island requires none of these things — you carry it in, position it where it helps most, and take it with you when you move. For renters, this flexibility is invaluable. For owners with small kitchens who aren't sure if an island will work, it's a low-risk way to test the concept before committing to construction.
The butcher block top
A butcher block or solid wood top at the standard counter height (90 cm) provides a prep surface with natural warmth and antimicrobial properties when properly maintained. Unlike laminate or solid surface tops that require no maintenance, a wood top needs periodic oiling — but in exchange it develops character and improves with use rather than showing wear. For small kitchen islands used primarily for food prep, butcher block is the ideal material: beautiful, practical and repairable.
The two drawers
The two small drawers here are not deep — but they provide exactly the storage that a kitchen island position needs. A drawer beside the range is where you keep your most-used tools: the wooden spoon you reach for every evening, the spatula, the thermometer, the peeler. Having these items in a drawer at the point of use (beside the range) rather than across the kitchen in a utensil pot saves steps and mental friction. This is kitchen ergonomics at its simplest.
The chrome bar handle
The chrome bar handle running across the front of the island is not just functional — it's a towel rail. A damp towel hung on the bar is within arm's reach of both the sink and the range, where you need it most. The bar handle also adds a slight commercial kitchen reference that suits the stainless steel range beside it.
Interior tips
- Place the island at 90 degrees to the main counter if space allows: this creates a natural work triangle between sink, range and prep surface without the island blocking the main workflow.
- Oil the butcher block monthly for the first six months, then quarterly: use a food-safe mineral oil, apply with a cloth, let it soak in for an hour, wipe off the excess. The top will darken slightly and become water-resistant.
- A window above the island is a luxury worth prioritizing if you have any choice in the island's position. Natural light on a prep surface makes food work more pleasant and the kitchen photograph much better.
- Add hooks to the ends of the island: a small rail on each end of the island holds a bag, a basket or extra utensils without taking up any worktop or drawer space.
- Keep the top mostly clear: the most useful configuration is empty worktop available for prep, with only the items currently in use on the surface. A beautiful kitchen island covered in clutter becomes an obstacle; one with clear worktop becomes the room's working heart.
How to choose the right size
The most common mistake when buying a freestanding kitchen island is choosing one that is too large. Measure your kitchen before you buy: you need at least 90 cm of clearance on every side of the island for comfortable movement and open oven door access. In most compact kitchens, an island between 60 and 80 cm wide and 90 cm deep is the right range. A longer island in a short kitchen quickly becomes an obstacle you squeeze past rather than a surface you work around.
Height matters as much as footprint. Standard counter height is 90–92 cm. If you plan to use the island primarily for prep work rather than casual seating, match it to your existing counter height so you can slide cutting boards and pots across without lifting. If you want bar stool seating on the non-cooking side, increase the height to 100–105 cm and pair with counter stools at 65–70 cm seat height.
Adding bar stools
One of the most effective upgrades to a kitchen island is a pair of bar stools on the side facing away from the range. Even a small island at 60 cm wide can accommodate two narrow stools tucked fully under the counter overhang when not in use. This transforms the island from a pure prep surface into a casual breakfast bar, adding seating to the kitchen without requiring a separate dining table.
For the tightest fit, choose backless stools — they push fully under the counter and disappear entirely when not in use. Metal or solid wood stools are easier to wipe down than upholstered options, which matters more in a kitchen than anywhere else in the home.
What to look for when buying
Not all freestanding kitchen islands are built the same. Before purchasing, check:
- Drawer quality: open and close each drawer several times. It should slide smoothly without binding, and the joints should feel solid, not hollow. Thin MDF sides will deform under normal kitchen humidity within a year or two.
- Top material thickness: a butcher block top should be at least 3 cm thick to resist warping. Thinner tops are cheaper to produce but cup and split over time, especially in kitchens with temperature fluctuations.
- Stability: push down firmly on the far corner of the top and check for rocking or flex. A wobbly island is dangerous beside a hot range.
- Leg material: solid wood legs outlast hollow or thin-walled metal legs. Check the joint between leg and frame — it should be tight, not loose.
- Caster option: if you are not certain about placement, choose a version with lockable casters. Rolling the island to clean behind it or to reconfigure the kitchen for a dinner party is genuinely useful.
Common mistakes to avoid
- Buying without measuring clearance: 90 cm minimum on all sides is non-negotiable for comfortable use. Measure before you order.
- Neglecting the oil schedule on butcher block: a dry, cracked top is not just ugly — it harbours bacteria and is difficult to restore. Oil before first use and stick to the schedule.
- Placing the island against the wall: an island against a wall is just a table with bad access. Give it space on all sides, even if that space is only 60 cm, so you can actually work around it.
- Storing heavy items in shallow drawers: shallow kitchen drawers are for lightweight tools, not cast iron pans. Overloaded drawers warp, the runners fail, and the base cracks — often within the first year.
Related posts
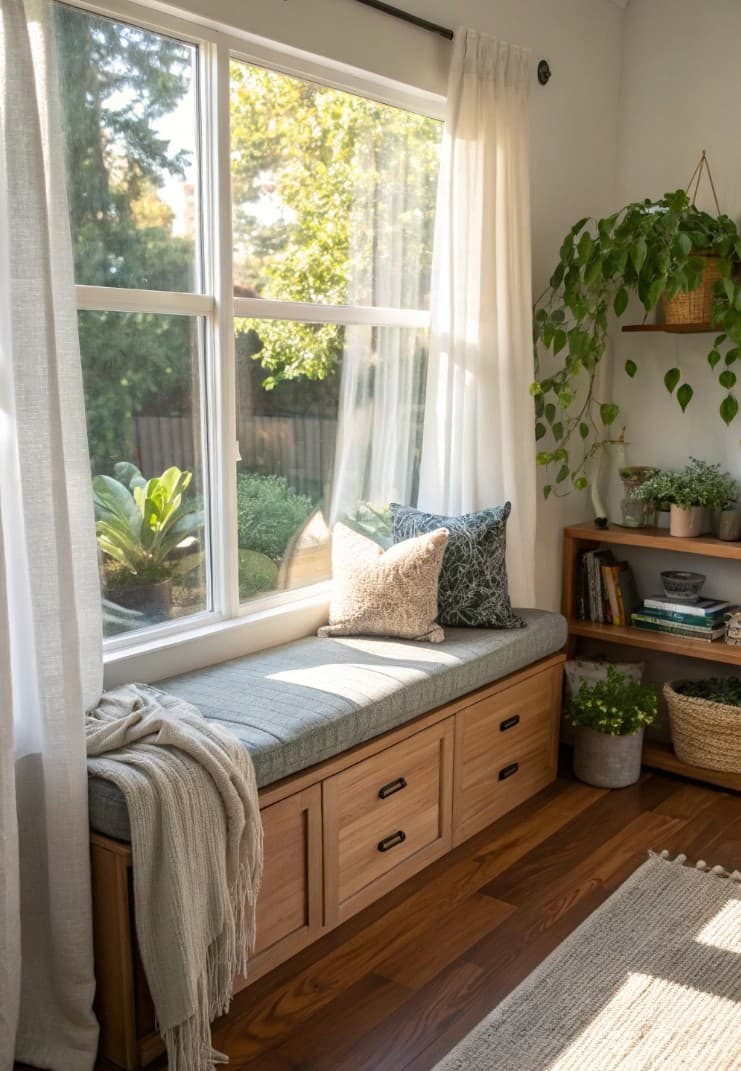
How to Build a Window Seat With Built-In Storage Drawers
A window seat with drawers underneath is one of the most rewarding home projects you can do — it adds seating, storage and a beautiful reading nook all at once.

Industrial Shelving Units: The Statement Storage Piece for Modern Living Rooms
A tall black-frame, oak-shelf freestanding unit with books, ceramics and vinyl records becomes the focal point of a living room — here's how to style one.
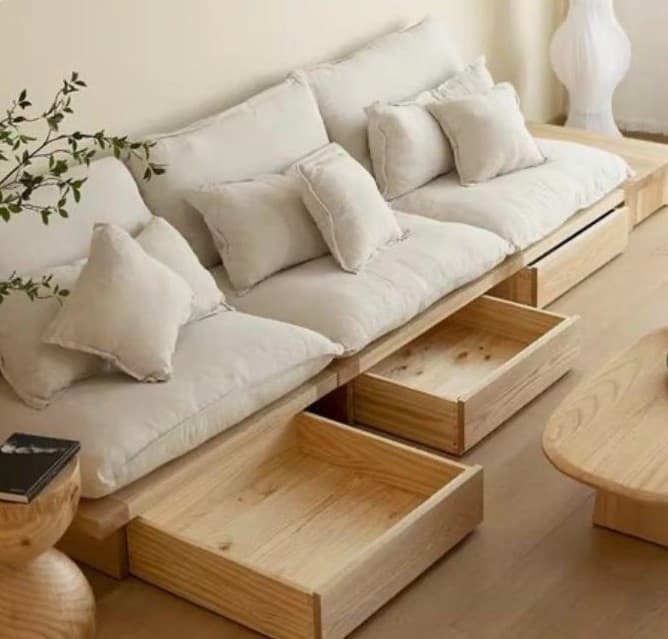
Japandi Platform Sofa With Hidden Storage Drawers: The Ultimate Space-Saver
A low pine platform sofa with pull-out drawers underneath stores as much as a wardrobe while taking up the footprint of a sofa. Here's why this is one of the smartest furniture ideas around.